
Video: Reset Instruction for Remanufactured PG-240XL CL-241XL Ink Cartridges for Canon PIXMA MX452
Reset instruction for PG-240XL, CL-241XL is back! We have been serving many happy customers with our remfanuctured PG-240XL and CL-241XL ink cartridges. Along the way, thanks to our customer, we also received valuable comments and feedback! We already provided a reset instruction for using PG-240XL and CL0241XL for canon printers. However our instruction was based on Canon printer that doesn't have a display panel. Several customers have alerted us that the printer with a display panel requires a slightly different reset process. So here we are with a reset instruction for Canon printers that with a display panel.
If you haven't been reading our blog post about why printers need to be reset when installing remanufactured ink cartridges, go ahead read our blog post titled with How to Fix "Low Ink" Error for Remanufactured Ink Cartridges. Now let us dive into the reset process for Canon printer with a display panel. Here we tried to provide as much detail as possible so that you can follow it step by step.
1. When you first install the Color and Black ink cartridges, the printer panel will show the following three messages alternating on the screen. Do not press the STOP button at this time.
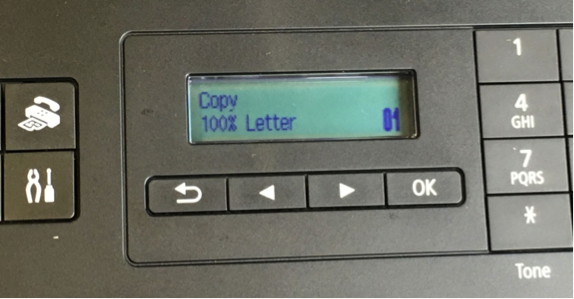
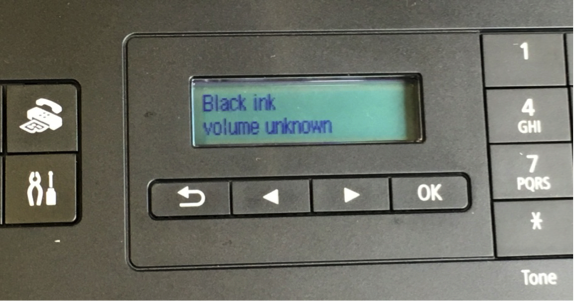
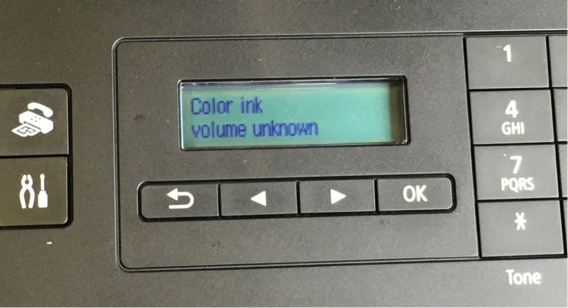
2. Try to print or copy at this time. When you press COPY or send Print job from your computer, the printer panel will show the following message:
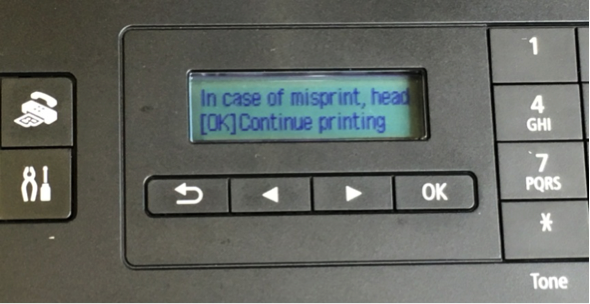
This is the same message when you install OEM original cartridges. Press OK to continue.
3. The printer will try to copy or print, then the following error message will display.
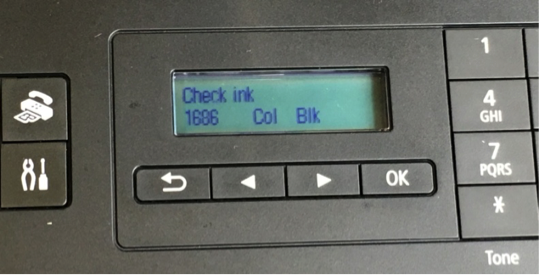
4. At this time, press the STOP button for at least 5 seconds. Make sure you press the STOP button, not the ON button.
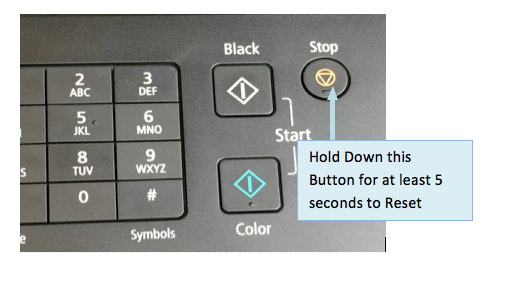
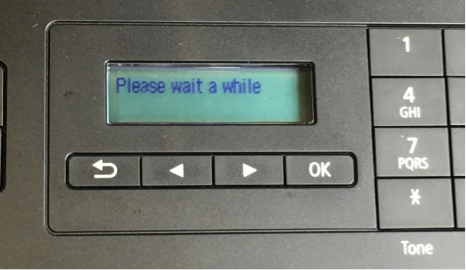
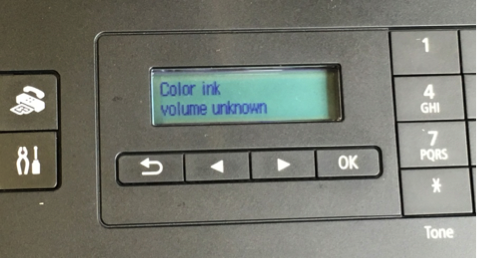
5. After you press for about 5 seconds, the following message will appear on the panel. You may release the button and just wait. The printer will reset itself.
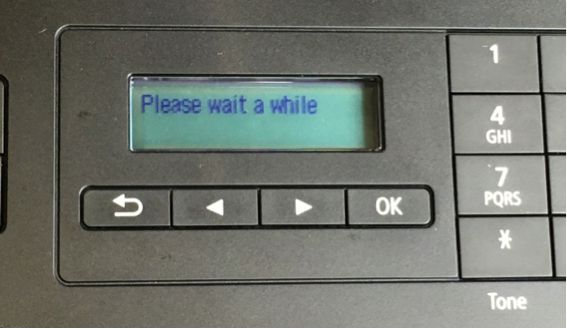
6. After the first reset, the following message will display. Note that the “Col” error is gone, and only the “Blk” error is remaining.
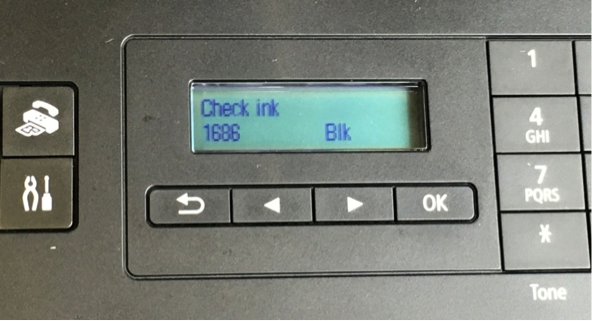
7. At this time, press the STOP button again for at least 5 seconds. This is the second reset to clear the Black ink error.
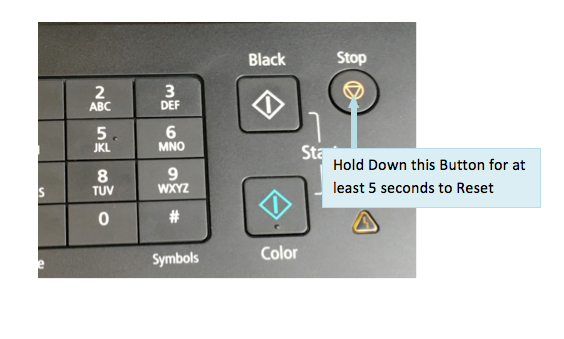
8. After you press for about 5 seconds, the following message will appear on the panel. You may release the button and just wait. The printer will reset itself again, then the Copy or Print job that you sent earlier will be completed.
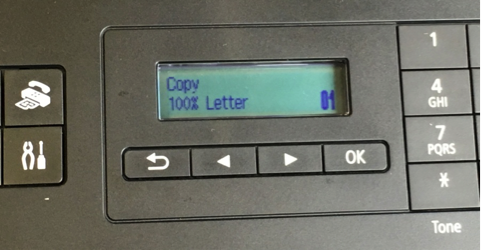
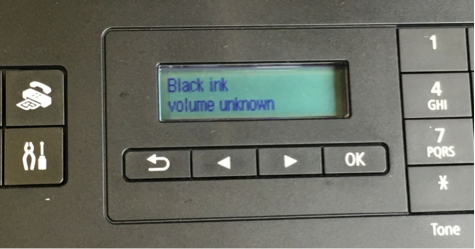
9. After the copy or print job is completed, the following three messages will keep showing on the panel, but you can go ahead copy or print. No more error messages will stop the normal function of the printer. You do not need to do the reset procedures again.
Check Out Our Popular Products

